Part of The Vale of Aldermoor: see the world map
The Sleeping Dragon's Hoard
Woolsey, the shepherd Hattie’s best ram, has wandered into a cave on Frostpeak Mountain. Everyone in the valley says a dragon lives up there. Hattie asks the heroes to bring Woolsey home safe, dragon or no dragon.
Ages 6–12 · gentle. The dragon is lonely rather than cruel; the tense moments are a dark cave and a chasm to cross, and the whole adventure can end without a single fight.
How long do you have?
Who’s playing?
Tap a hero for each child. Their Heart Points come with you into the game.
For the guide: who you meet, rewards and tips
The map
Who’s in this adventure
Giant Bat
- Heart Points
- 4
- Guard
- 12
- Attack
- Flappy Bite +2 (1d4 Heart Points)
Swoops and flutters. Hates loud noises. Flaps off into the dark after one hit, squeaking.
Emberwing, the Young Dragon
- Heart Points
- 16
- Guard
- 13
- Attack
- Tail Swish +3 (1d6 Heart Points)
Once per fight, sneezes a puff of warm sparks: every hero close by loses 1 Heart Point. Gives up at 8 Heart Points: she has never been in a fight before, and she does not like it.
Rewards
- Woolsey the ram, home safe in Hattie’s field.
- If you made friends or a swap: a Dragon Coin for every hero, from Emberwing. Once in your next adventure, roll again.
- If you brought the spring water: Emberwing’s wing is better. In your next adventure, she swoops in to help, once.
- A real-world bonus, if you like: hot chocolate tonight, with a torch or a lamp left on in the window.
Tips for running this one
- Play Emberwing more shy than scary once she wakes. She booms at first, then goes small and squeaky, because she is very young and very lonely. That change is the whole point of this adventure.
- The bats and the chasm build up to the big cave. Keep both quick: they are not the main event.
- Short on time? The Quick Quest is the first scene and the climax, and it still has the twist: see the climax’s DM notes.
- Playing with 5- and 6-year-olds? Take 3 off every DN and skip the roll for anything kind. For 9- and 10-year-olds, add 2.
- Every roll here says what happens when it works and when it doesn’t. A failed roll never stops the story; it only changes what happens next.
- If you play "Not Alone", read its box out loud slowly. The whole adventure turns on that one moment.
Play together, online
Run “The Sleeping Dragon's Hoard” online with friends
Can’t get everyone around the same table? Run it at a live online table instead. You direct the game from your screen; your players open a link on theirs and see the same scene art, the same “you are here” map pin, the same dice, their own character sheets, and a party chat. Free, in the browser, nothing to install.
The whole adventure is already loaded there, scene by scene, so you just step the party through it.
No sign-in, nothing saved. Share the link so the family can roll together.
Nobody needs an account: you start a table on this device in one step, and your players join with the code or invite link you send them.
The adventure, scene by scene
-
Scene 1
The Shepherd’s Plea
Read this aloud
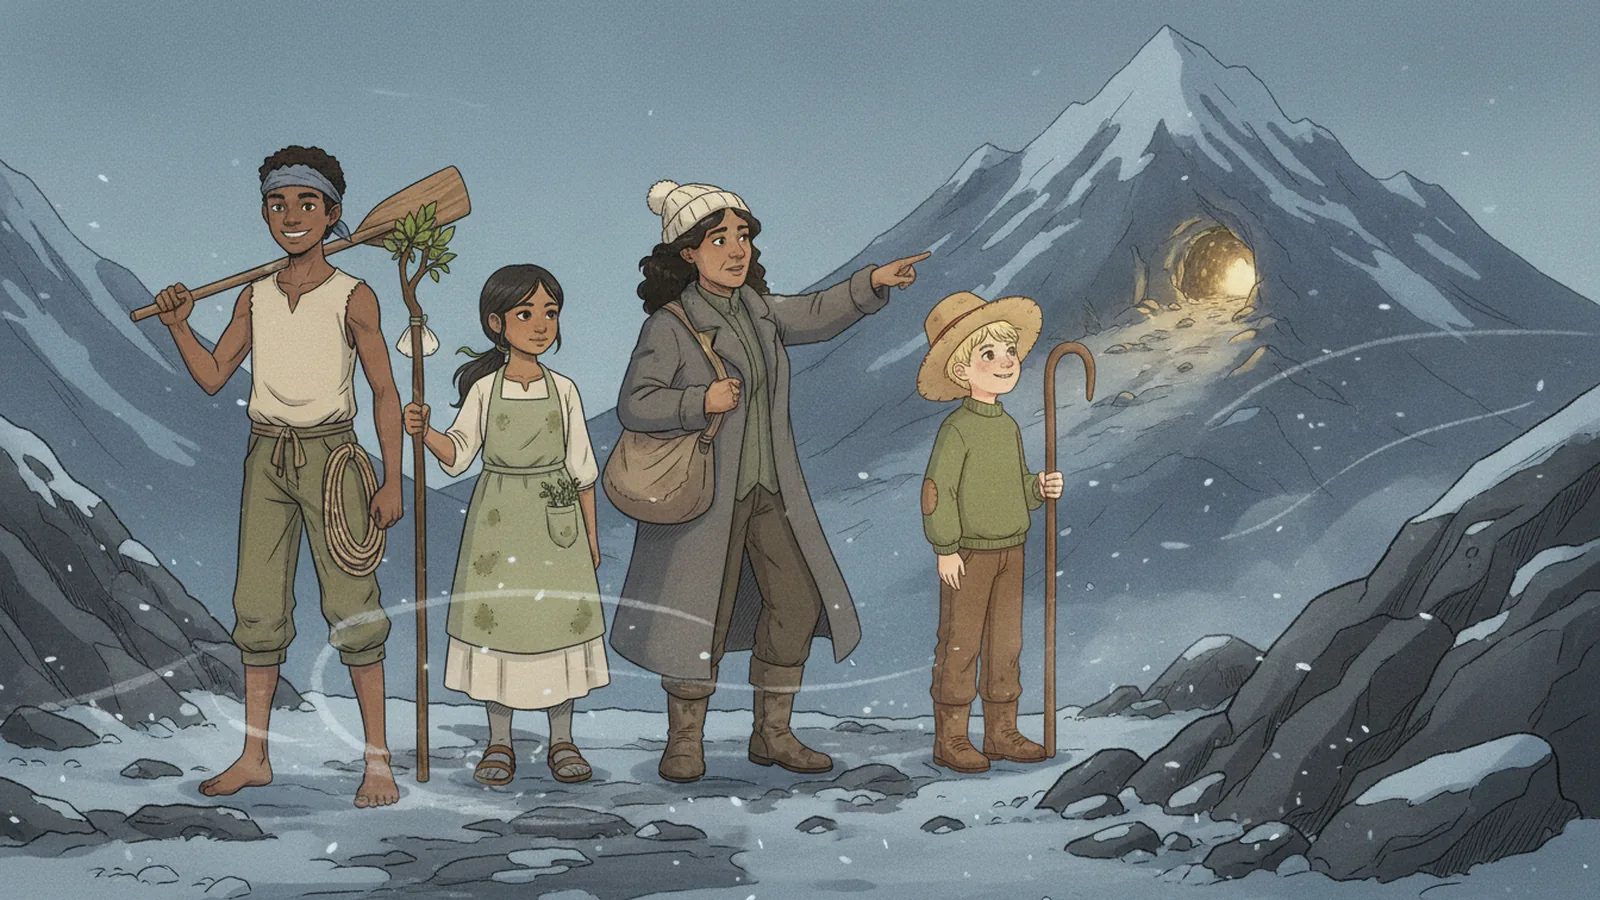
Whoooo. The wind whistles down Frostpeak Mountain. A shepherd in a big woolly hat runs up the path to meet you. "I’m Hattie," she puffs. "My ram, Woolsey, wandered into that cave last night." She points high up the mountain. A dark cave mouth glows a little gold. "Everyone says a dragon lives in there," Hattie whispers. "I don’t care about dragon gold. I just want my Woolsey home."
What do the heroes try?
- Hero’s bonus
Rolled your own die?
Made it!
Little hoofprints go up the path, then tufts of white wool caught on the thorns. Woolsey went this way, and he was in no hurry.
Nearly!
The snow has covered the prints. But Hattie shakes a bucket of oats, and far above, a small "Baa!" echoes out of the cave. That way!
-
No roll needed
Hattie tells you three things. Woolsey loves warm places. The cave has glowed gold all winter. And nobody has ever seen the dragon do anything mean. "It’s just very big," she says.
Nearly!
If nobody can think of a question, Hattie tells them the three things anyway and gives each hero an oat cake: "For the climb."
Notes for the guide
What the heroes want: Find out about the cave, then head up the mountain.
Make it clear this is a rescue, not a treasure hunt: Hattie wants Woolsey, not gold, and that matters for the twist. She is worried but brave. If a child asks something she could not know, she says, "Ooh, I couldn’t say, dear. You’ll have to see!" Then head up the mountain.
Questions to ask
- Ask each player in turn: Hattie lets each hero take one thing from her shepherd’s bag. What does your hero take? A blanket, a bell, a rope, a bag of oats: whatever they pick can help later, with the bats, the chasm or a cold, lonely dragon.
Where they are on the map
-
-
Scene 2
The Bat Ledges
Read this aloud
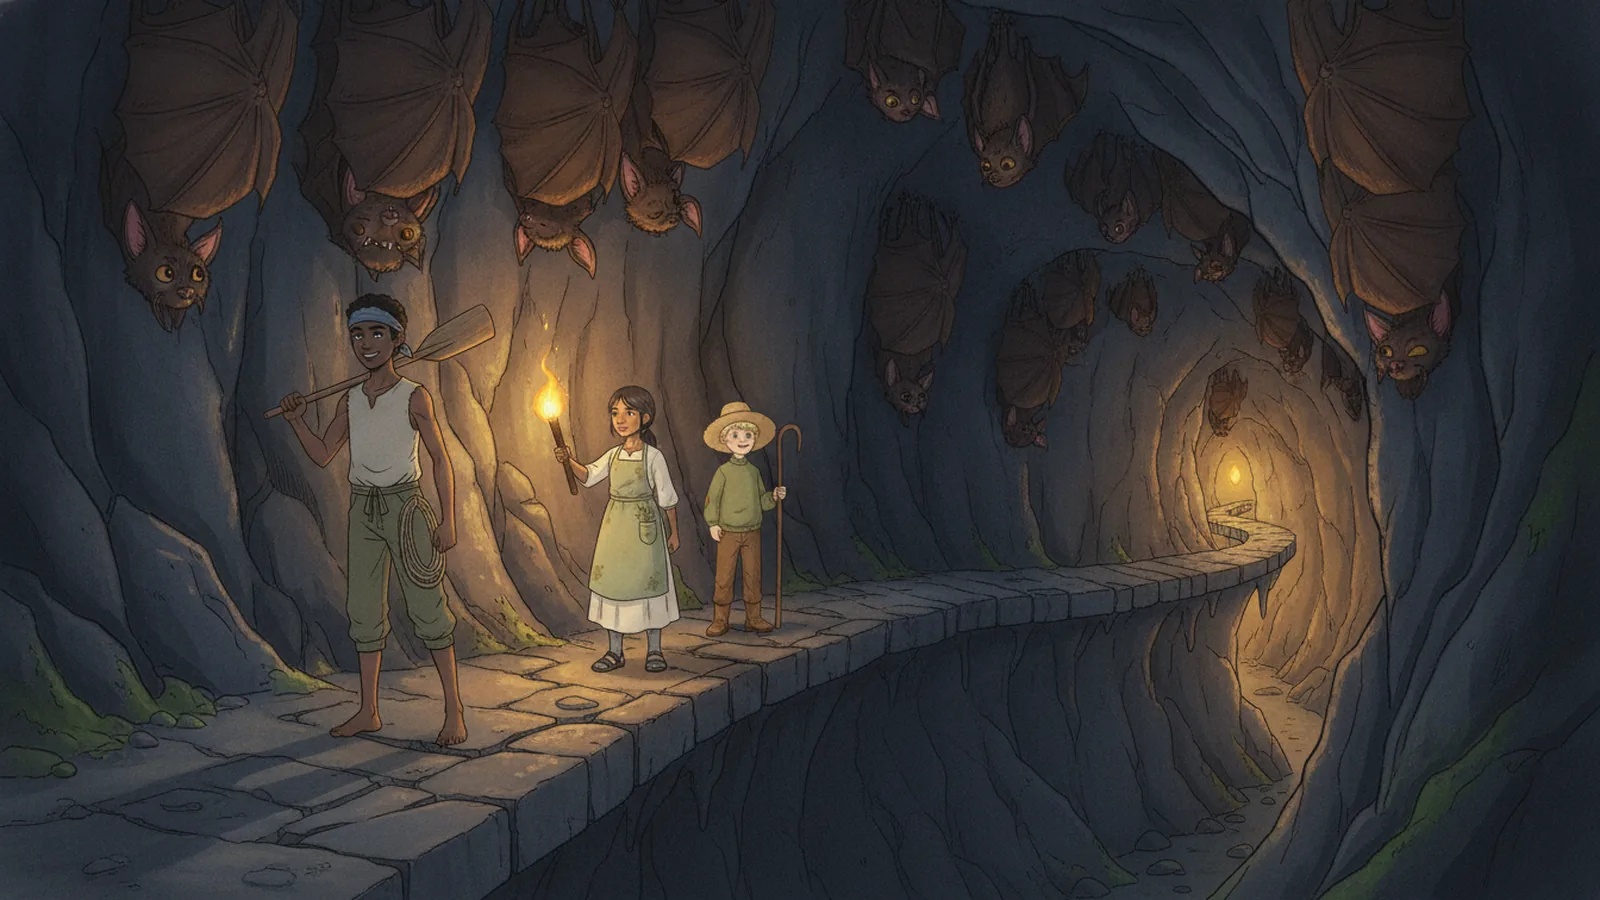
Drip. Drip. Inside the cave, it is cool and dark. A narrow ledge winds up along the wall. Hanging from the ceiling are bats. Hundreds of them! They are fast asleep, wrapped in their wings like little umbrellas. One bat opens an eye. Then another. Somewhere up ahead, that warm gold light is glowing. And somewhere up ahead, a small voice goes, "Baa."
What do the heroes try?
- Hero’s bonus
Rolled your own die?
Made it!
Step, step, step. Not one bat stirs. One even snores, a tiny squeaky snore.
Nearly!
Someone’s boot goes CRUNCH on a pebble. Whoosh! A cloud of bats flaps all around you, then flutters off down the tunnel. Nobody is hurt, but everyone’s hair is a mess.
- Hero’s bonus
Rolled your own die?
Made it!
BANG! CLANG! The bats burst off the ceiling and stream out of the cave like smoke. The ledge is clear.
Nearly!
Your shout comes out as a squeak. The bats squeak back, as if they are laughing, and two of them swoop down. Use the Giant Bat cards: each one flaps off after one hit.
-
No roll needed
Use the Giant Bat cards, one bat for every two heroes. Each one flaps off into the dark after one hit.
Nearly!
If the fight goes badly, the bats get bored anyway and flutter off after one round. They only wanted their sleep back.
Notes for the guide
What the heroes want: Get past the bats and further into the cave.
Keep this quick: it builds up to the big cave, it is not the main event. The bats are sleepy, not mean. If the table is stuck, point out that a loud noise is the easiest way through. However it goes, everyone gets past.
Questions to ask
- Ask the table: The ledge is only wide enough for one hero at a time. Who goes first, and who goes last?
- Ask the quietest player: One small bat is awake and looking right at you. What does your hero do? Whatever they do is right for that bat. If it is friendly, the bat flies ahead and squeaks at the chasm edge, so nobody walks too close in the dark.
Where they are on the map
-
-
Scene 3
The Chasm
Read this aloud
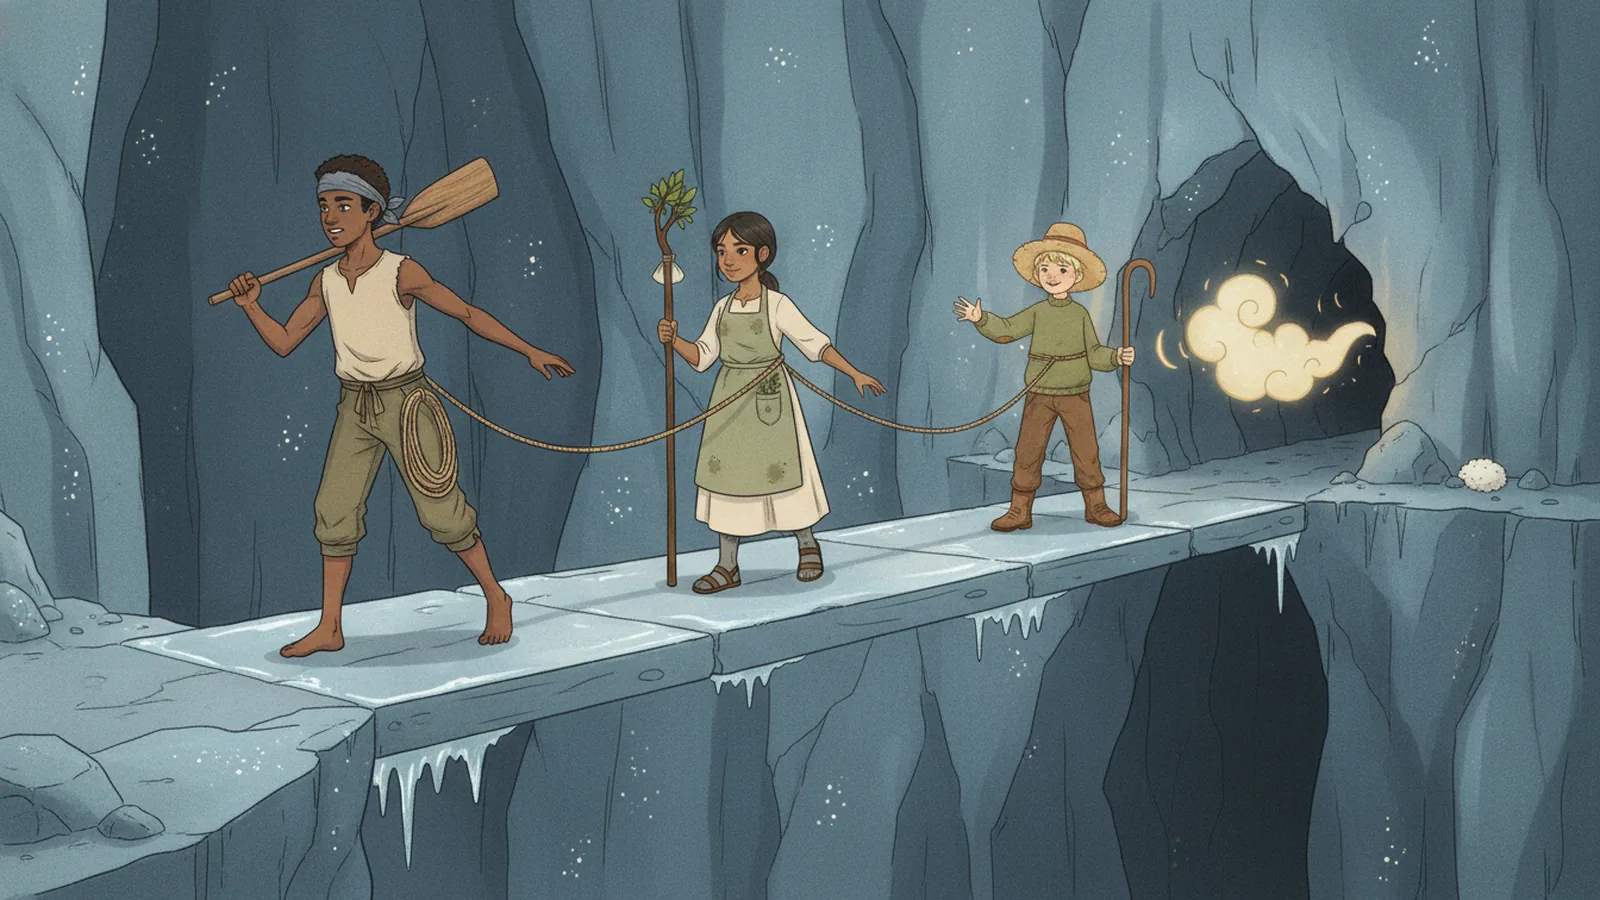
The path stops at the edge of a chasm. That is a crack in the ground so deep that you cannot see the bottom. Drop a pebble in, and you never hear it land. One long, flat stone lies across it like a bridge. It is slippery with ice. From the far side comes a warm puff of air, like a sleeping giant breathing out. "Baa," says a small, sleepy voice over there.
What do the heroes try?
- Hero’s bonus
Rolled your own die?
Made it!
Arms out, one small step at a time. You reach the far side, then help the others over.
Nearly!
Your foot slips! A friend grabs your belt and pulls you back. Everyone is safe, but knees are wobbly. You go over holding hands, slowly, and you make it.
- Hero’s bonus
Rolled your own die?
Made it!
Behind a big rock is a low tunnel that slopes down under the chasm. No bridge needed at all.
Nearly!
You search for ages and find only a dead end. Then a warm draught that smells of toast leads you to a low tunnel behind a big rock.
Notes for the guide
What the heroes want: Get everyone across the chasm.
Nobody ever falls in this story. A failed roll is a wobble and a friend’s hand, never a drop. If a hero brought a rope from Hattie’s bag, they can tie everyone together and cross with no roll at all.
Questions to ask
- Ask each player in turn: Halfway across, everyone stops for one big breath. What is your hero thinking about right now?
Where they are on the map
-
-
A side path
The Glow-Worm Tunnel
Read this aloud
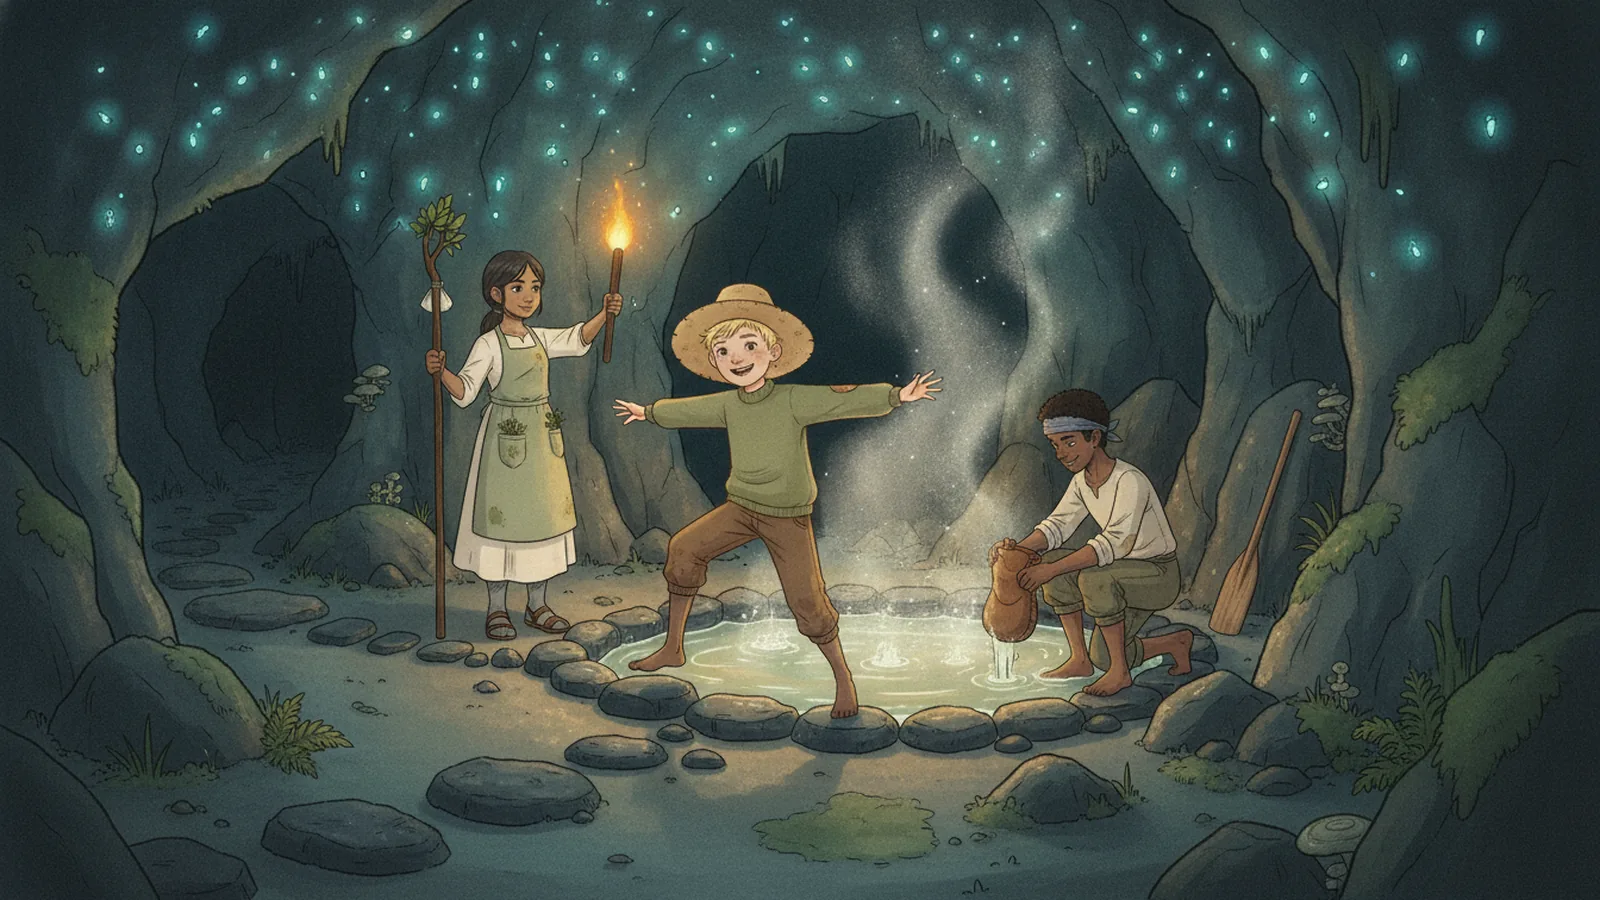
The low tunnel slopes down under the chasm. Tiny glow-worms twinkle on the walls like blue stars. The air smells of warm toast. Halfway along, you find a funny thing. Someone has piled up stones into the shape of a little dragon. It has two pebble eyes and a big seashell smile. Next to it lies a heap of shiny green scales. Up ahead, the tunnel climbs toward a golden glow.
What do the heroes try?
-
No roll needed
You pat its stone head and say hello. From far up the tunnel, a big sleepy voice mumbles, "Night night, Pebbles." Somebody up there talks to this stone friend every night.
Nearly!
If nobody wants to, Woolsey’s faraway "Baa" echoes down the tunnel. The seashell smile almost seems to wobble. Somebody made this stone friend so they would not be alone.
- Hero’s bonus
Rolled your own die?
Made it!
The scales are small, so whoever lost them is young. One has a long scrape on it, like a hurt wing. You tuck it in a pocket.
Nearly!
A scale tickles your nose. ACHOO! It smells of toast too. Whatever lost these scales is warm, and very close.
- Hero’s bonus
Rolled your own die?
Made it!
You lead everyone up the slope, nice and quiet, right to the edge of the golden glow.
Nearly!
Your boots squeak on a scale. Squeak, squeak, squeak! Everyone giggles behind their hands. You go on more slowly, and you get there.
Notes for the guide
What the heroes want: Find out who made the stone dragon, then follow the tunnel up to the glow.
Play this scene only when the heroes chose Find another way at The Chasm. The story then goes on to Not Alone, or straight to Emberwing Wakes at the shorter lengths. Pebbles is a pretend friend Emberwing built because she is lonely: it hints at the twist without giving it away. Nobody gets hurt here, and nothing later needs this scene.
Questions to ask
- Ask the quietest player: The stone dragon looks a little lonely. What could your hero leave next to it? Whatever they leave is a kind thing to tell Emberwing about later. She will love it.
Where they are on the map
-
-
Scene 4
Not Alone
Read this aloud
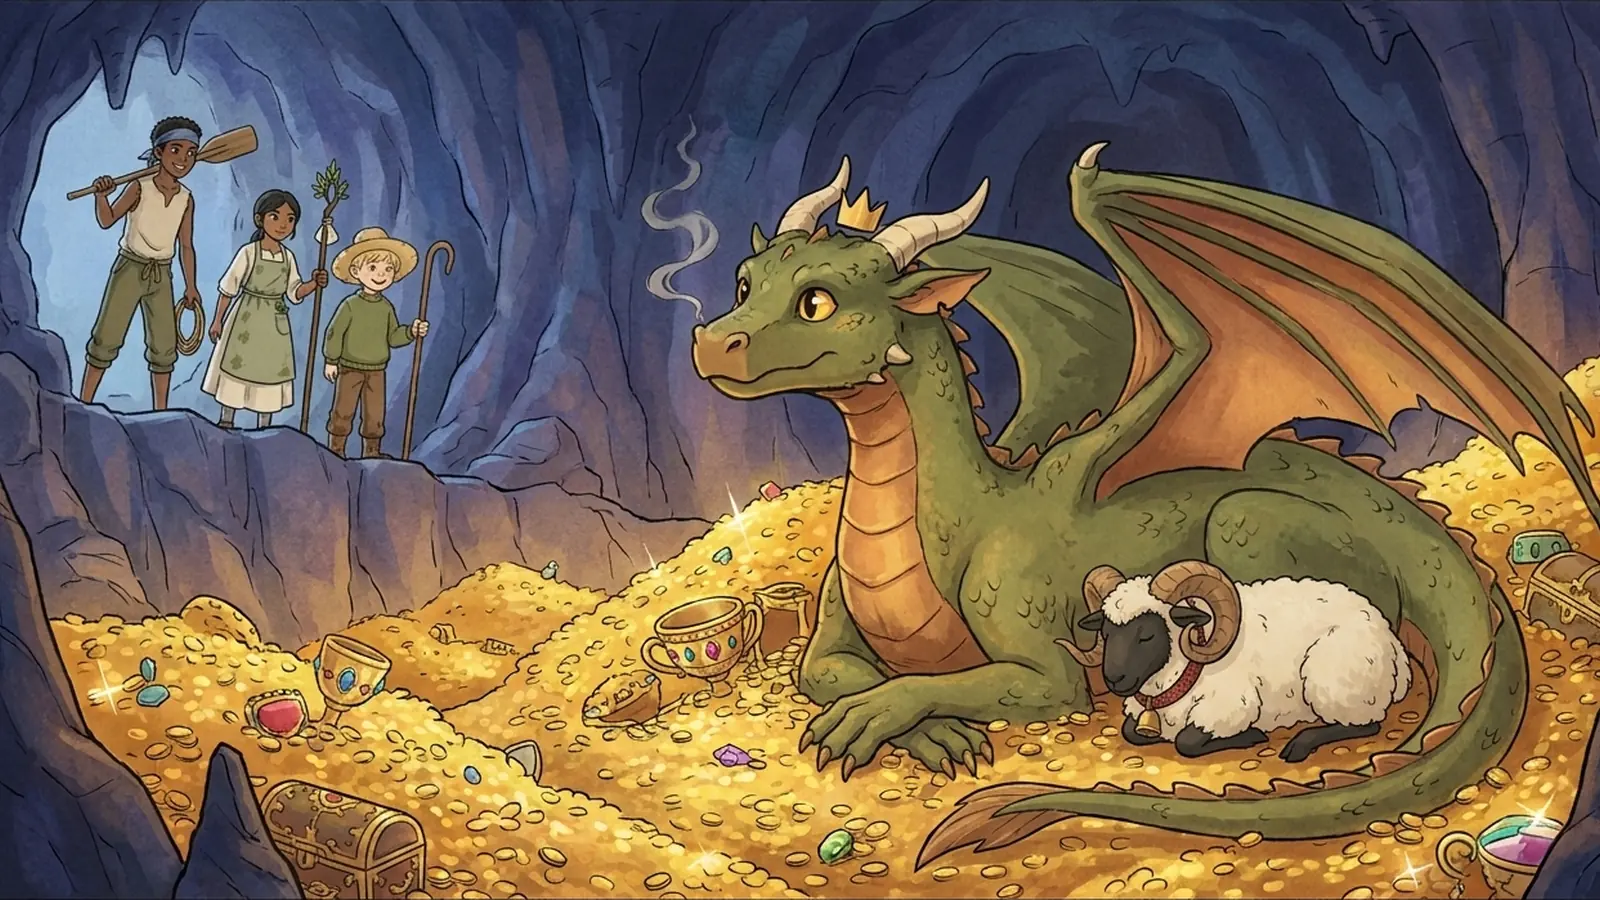
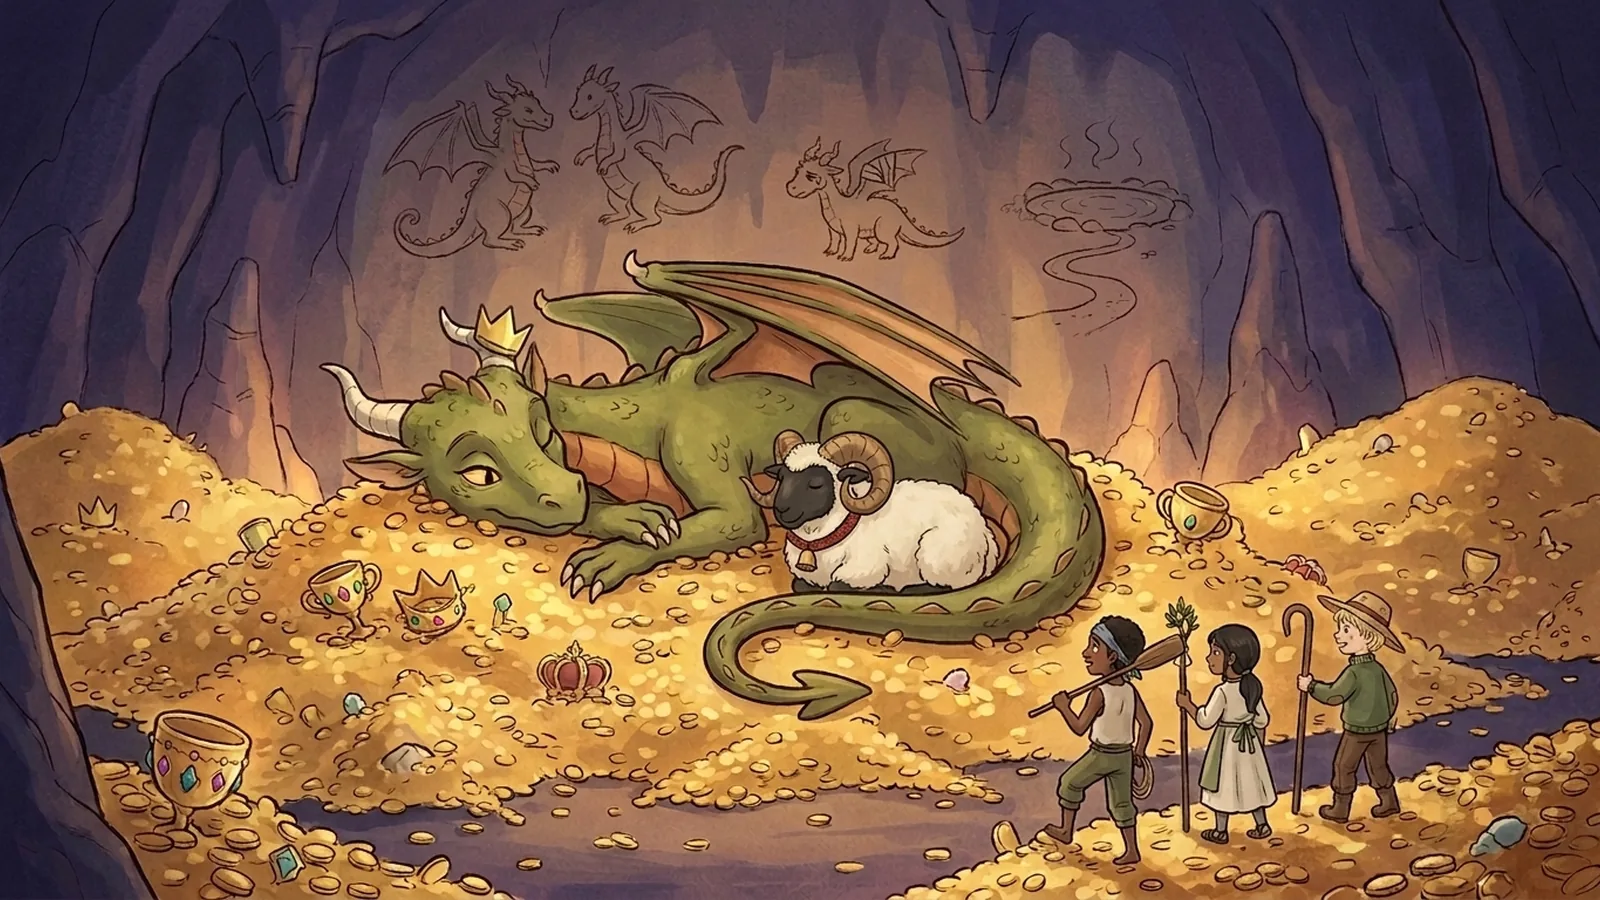
Glimmer. Glimmer. The tunnel opens into a huge cave full of gold. Coins, cups and crowns are piled up like snow. Curled on top is a young green dragon, fast asleep. One wing is folded oddly, as if it hurts. Tucked against her warm tummy, snug as a bug, is Woolsey the ram. He is asleep too. Then one big golden eye opens, just a crack. It closes again. Phew.
What do the heroes try?
- Hero’s bonus
Rolled your own die?
Made it!
Up close, you see it all. The dragon’s wing has an old scrape on it. Her tail is wrapped round Woolsey like a blanket. And scratched on the wall behind her is a drawing. Give the heroes the cave-wall drawing.
Nearly!
A coin clinks under your boot. The dragon mumbles in her sleep, "Mmm... don’t go... stay..." and rolls over. She is still asleep. Now you can see a drawing scratched on the wall behind her. Give the heroes the cave-wall drawing.
-
No roll needed
Scratched on the wall is an old drawing: two dragons, a sore wing, and a steaming pool at the end of a twisty line. Give the heroes the cave-wall drawing.
Nearly!
If nobody looks, Woolsey wakes up, trots over to the wall and starts licking the drawing. That gets everyone’s attention. Give the heroes the cave-wall drawing.
Notes for the guide
What the heroes want: Find out what is really going on, before the dragon wakes.
This is the heart of the story: the dragon is not guarding her gold, she is keeping a cold ram warm because she is lonely. Her sore wing means she cannot fly out of the cave. Hand over the cave-wall drawing here, whichever way the scene goes. Read the box slowly, and give the children a moment to react before anyone wakes her.
Questions to ask
- Ask each player in turn: How does your hero feel about the dragon now?
- Ask the table: Her wing looks sore. Is there any way you could help her? If they want to find the warm pool in the drawing and you are playing the Epic Session, the bonus scene is next. Otherwise, the dragon wakes up.
Where they are on the map
Show your players this
A Drawing on the Cave Wall
Scratched into the rock a long time ago. Three little pictures: a big dragon and a small dragon, wing to wing, with a heart between them. The small dragon again, with a sore wing. A round pool with steam curling up, at the end of a twisty line. Under the pictures, in big, careful letters: WARM WATER FOR A SORE WING.
Print this handout -
-
Scene 6
Emberwing Wakes
Read this aloud
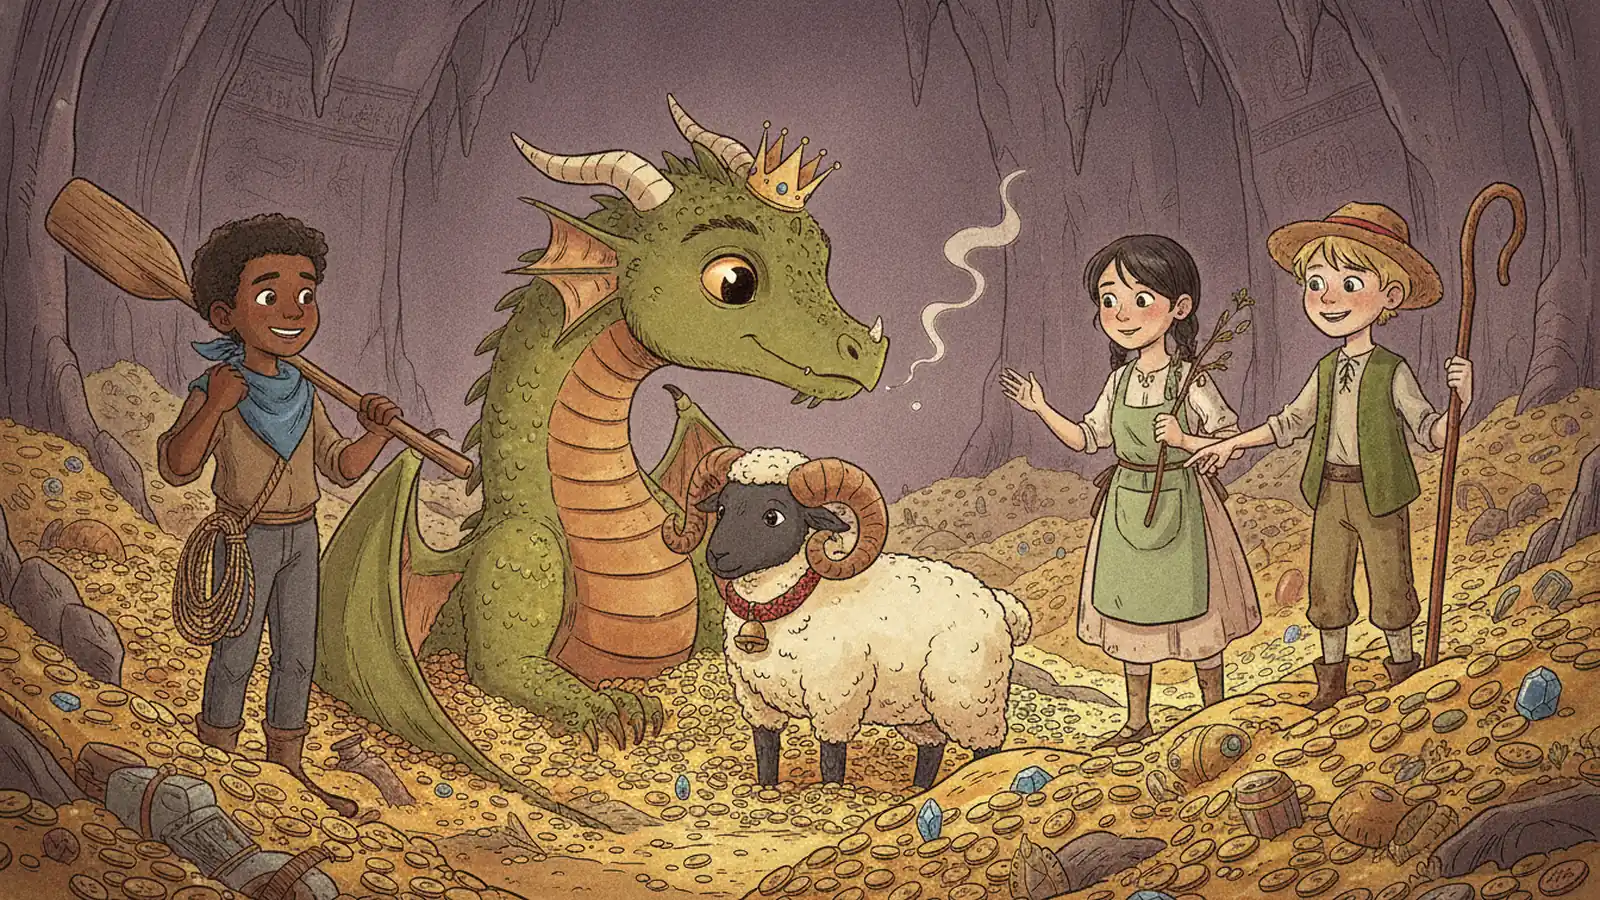
The pile of gold shifts. CLINK, CLINK. A young green dragon lifts her head, and one big golden eye opens. Curled against her side is Woolsey, warm and cosy. "WHO DARES wake EMBERWING?" she booms, and a puff of smoke pops out. Then she sees you looking at Woolsey, not at her gold. Her voice goes small. "Oh. Is he yours? He was cold. I was..." She sniffs. "I was a bit lonely."
What do the heroes try?
- Hero’s bonus
Rolled your own die?
Made it!
Emberwing’s tail starts to thump on the gold. Clink, clink, clink. "You want to... talk? To me?" Read "If you made friends."
Nearly!
Emberwing hides her face behind her good wing. "Everyone just wants my gold." The heroes get one more try with a different idea: a story, a song, a promise to visit. The second try needs no roll if it is kind.
- Hero’s bonus
Rolled your own die?
Made it!
Emberwing’s eyes go wide. "A story? A NEW one?" She listens to every word and gives Woolsey a little push toward you. Read "If you made a swap."
Nearly!
Emberwing yawns. "I know that one already." Now the heroes can try to make friends, or face her.
-
No roll needed
Use Emberwing’s card. She has never been in a fight before. When she is down to 8 Heart Points, she gives up. Read "If you faced her."
Nearly!
If the fight goes badly for the heroes, Emberwing stops anyway and hides her head: "I don’t WANT to fight. I just wanted someone to stay." Go to Make friends. It needs no roll.
How it ends
Read the ending that happened, then the homecoming.
If you made friends.
Where your choices led
Emberwing’s ears go up. She nudges Woolsey toward you with her nose. "Take him home. He misses his field." Then, very quietly: "Will you come back? Ever?" When you say yes, she gives such a happy roar that gold coins jingle down the pile. She gives each of you one shiny coin. "To remember me by."
If you made a swap.
Where your choices led
Emberwing listens to your story with her chin on her paws. At the end, she sighs a long, happy sigh. "That was the best story ever." Woolsey is already by the door. "Fair swap," she says. "But come back and tell me another one." Her tail thumps. She gives each of you one shiny coin.
If you faced her.
Where your choices led
Emberwing curls up into a ball on her gold. "Fine. Take him," she sniffs. "Everyone always goes." Woolsey trots back to her and licks her nose. For a moment, nobody says anything. Then Emberwing looks at you. "My wing hurts," she says. "That’s why I can’t fly out. That’s why nobody ever stays."
Homecoming
Every ending: home to Hattie.
Down the mountain you go, with Woolsey trotting in front. Hattie hugs her ram so hard he squeaks. "Baa!" Up on the mountain, the cave glows gold. It does not look lonely any more. From now on, Hattie puts a lantern in her window every night. It tells the dragon that somebody is thinking of her.
Notes for the guide
What the heroes want: Bring Woolsey home safe. Emberwing does not have to be an enemy.
Making friends: no roll at all if the heroes bring the warm spring water for her wing. Otherwise roll with +2 if they saw the cave-wall drawing, got past the bats without a fight, or bring her a gift from Hattie’s bag (+2 once, however many are true). Short on time? Every length gets the twist: Woolsey is curled up with her in the read-aloud, and if the heroes have not seen the cave-wall drawing, she shows it to them the first time anyone asks why. Emberwing never chases anyone. When it is over, read the ending that happened, then the homecoming.
Questions to ask
- Ask the table: Emberwing sniffs a big, sad sniff. Why do you think she kept Woolsey? If the heroes have not seen the cave-wall drawing yet, Emberwing pats the wall behind her with her tail, or Woolsey trots over and licks it. Give them the drawing now.
- Ask the quietest player: What does your hero say to Emberwing first?
Where they are on the map
-